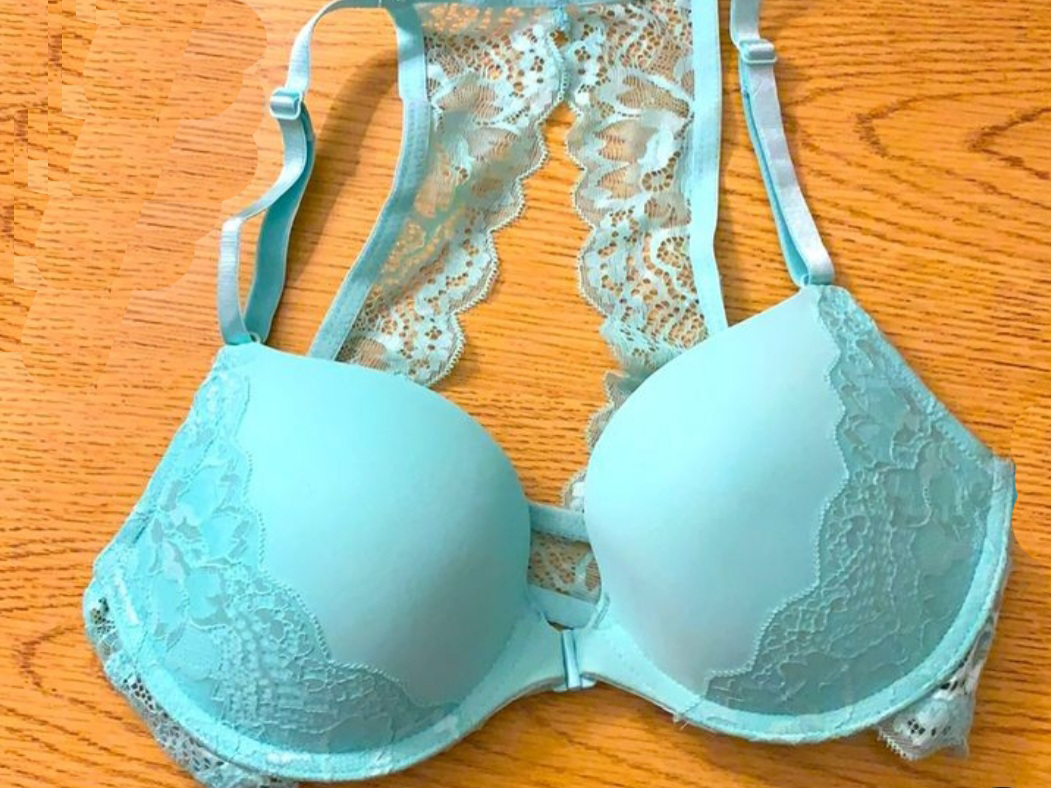
How do I go from this?
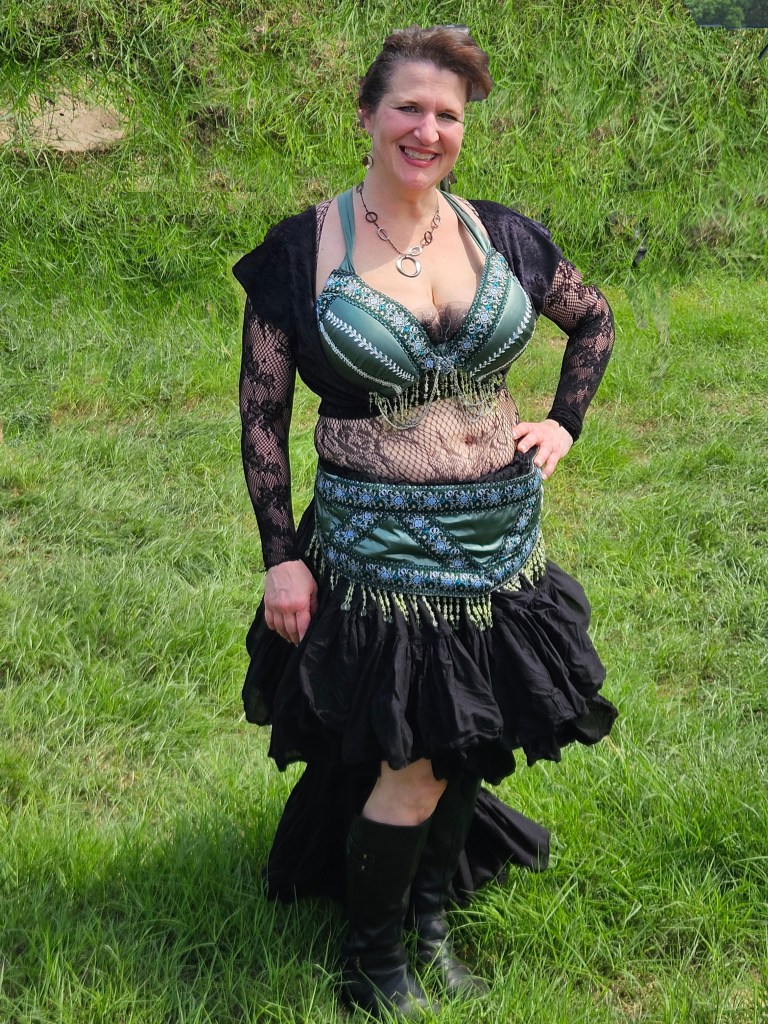
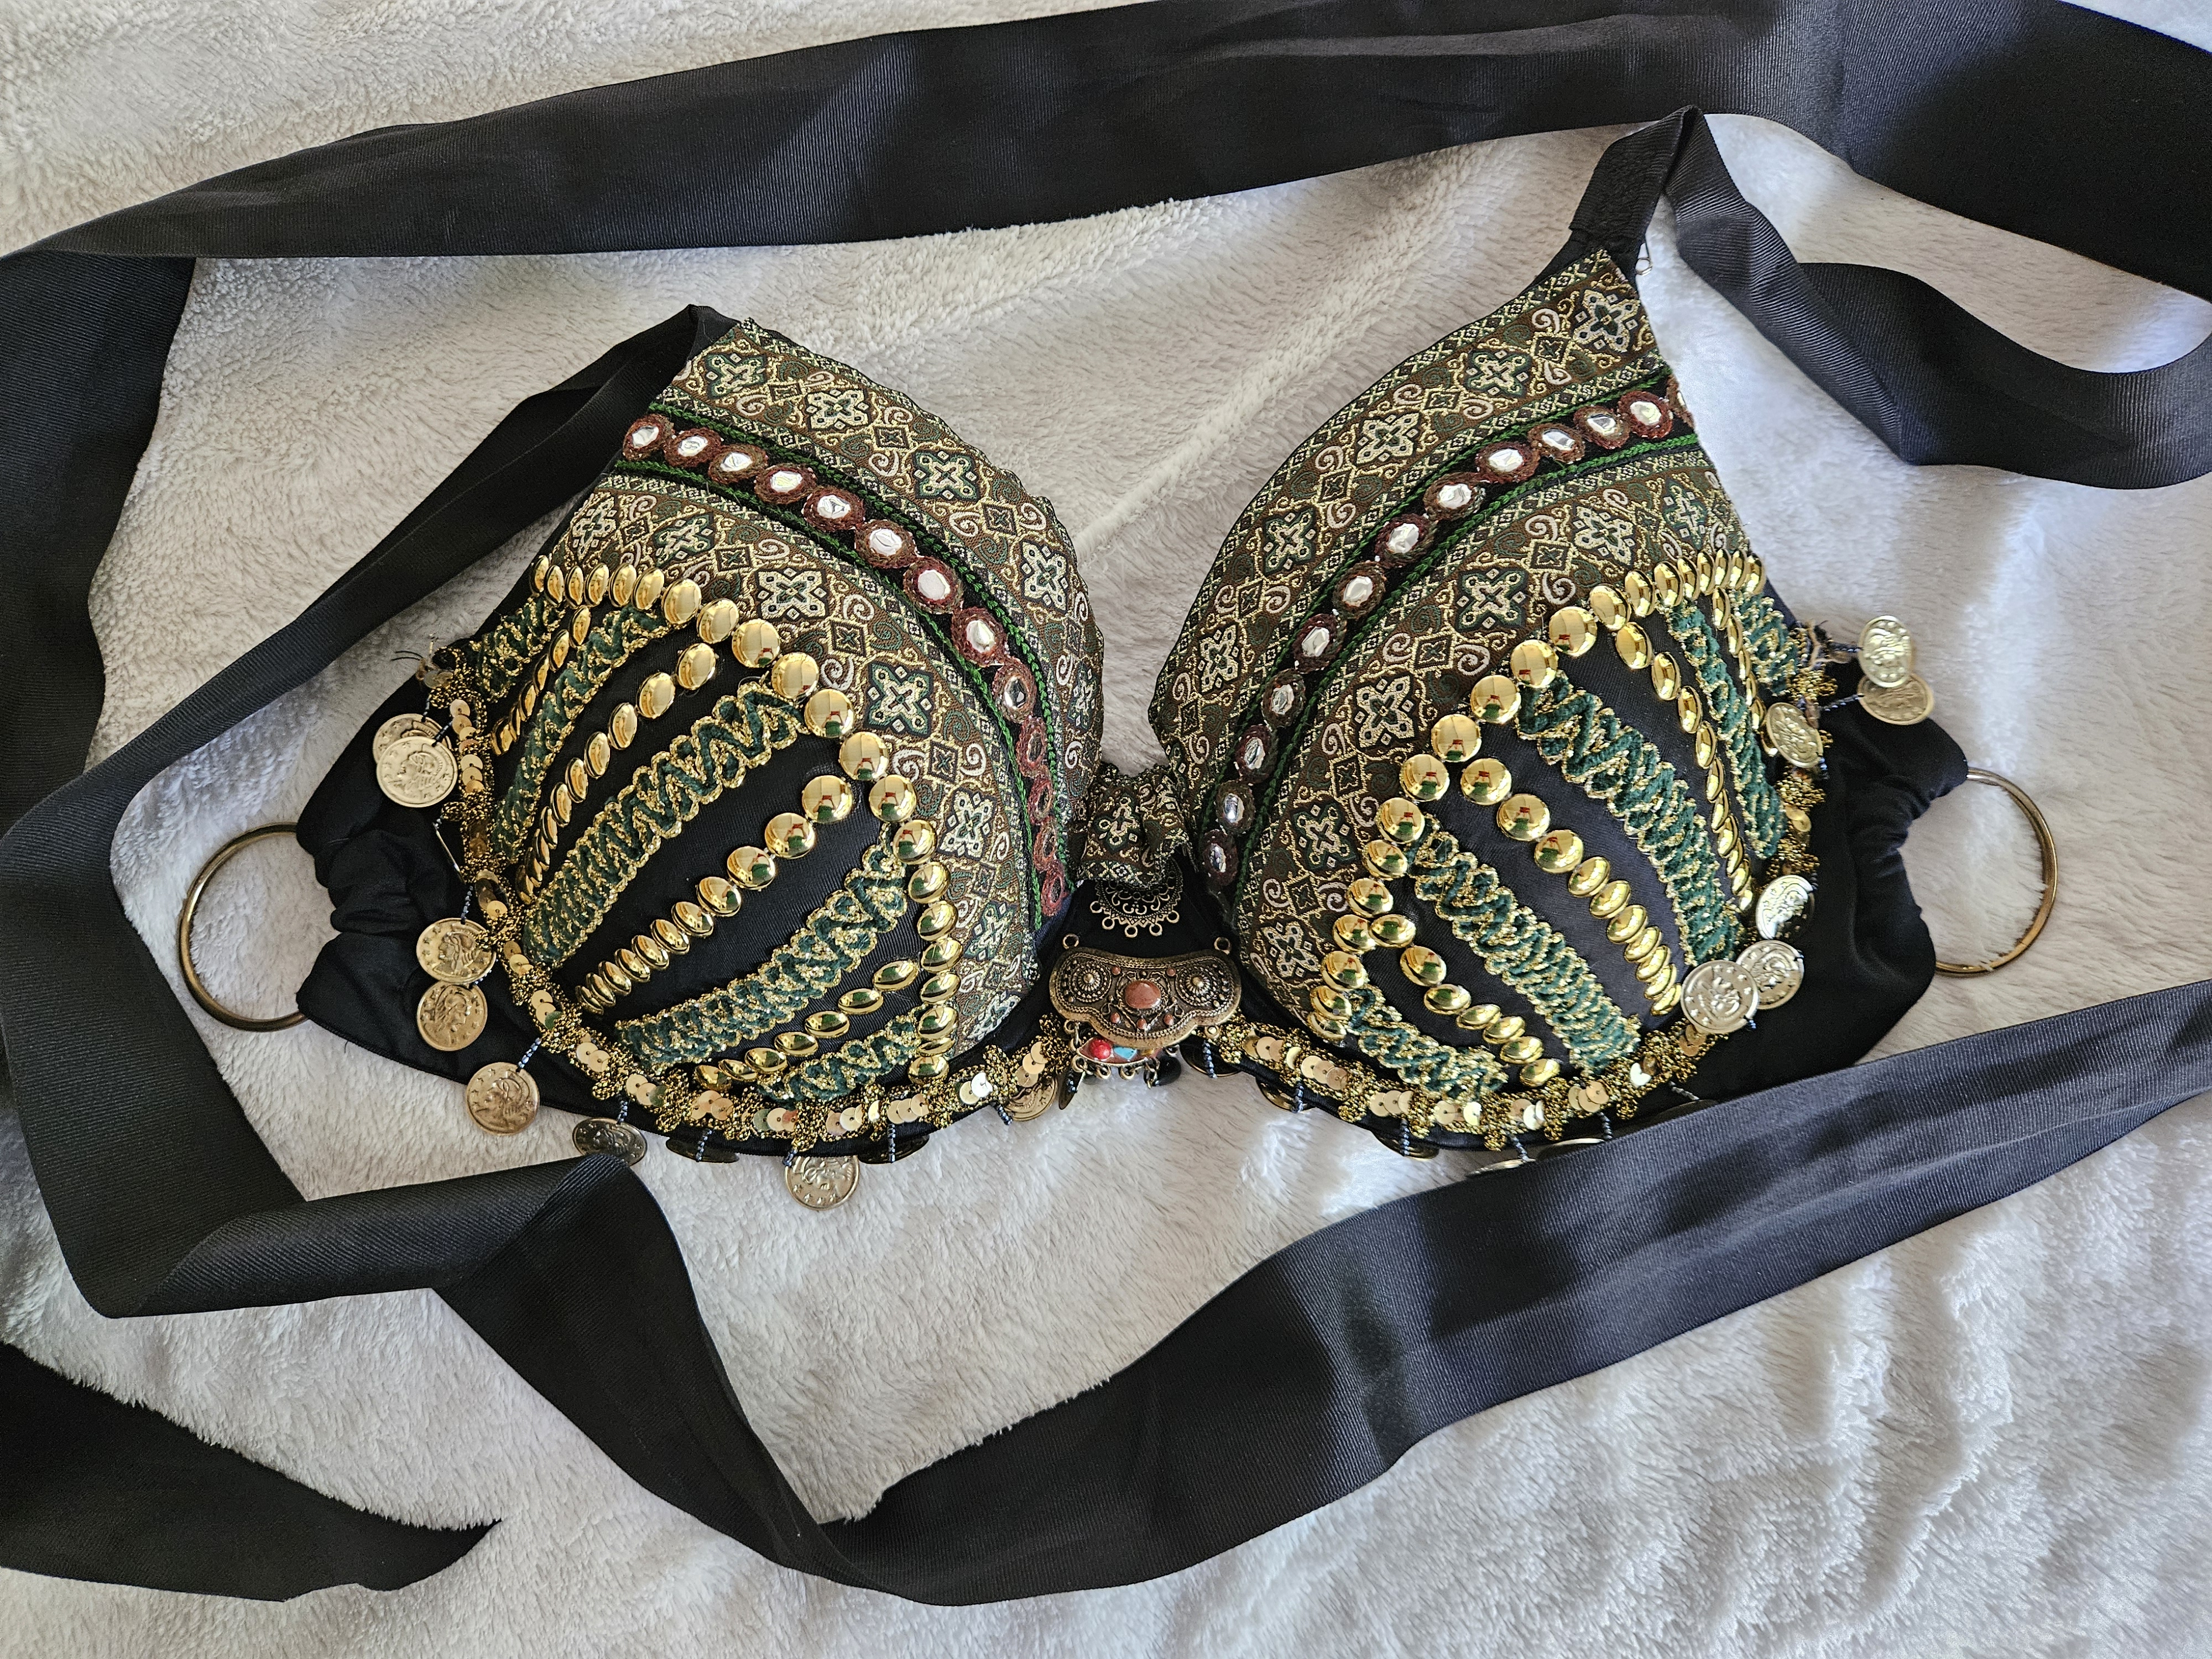
To something like this.
In a word, very carefully… no really that’s a lie. My first bra was carefully planned out and painstakingly made. As I progressed with others it became easier and took less time. The best thing is that these are all done by hand. You don’t need to know complicated stitches. Just be able to run a straight stitch. So gather the most comfy bra you are willing to sacrifice to the cause and get ready!
(I’ve broke this tutorial up into seperate parts to make it easier to follow.)
Part 1: Preparing the Base
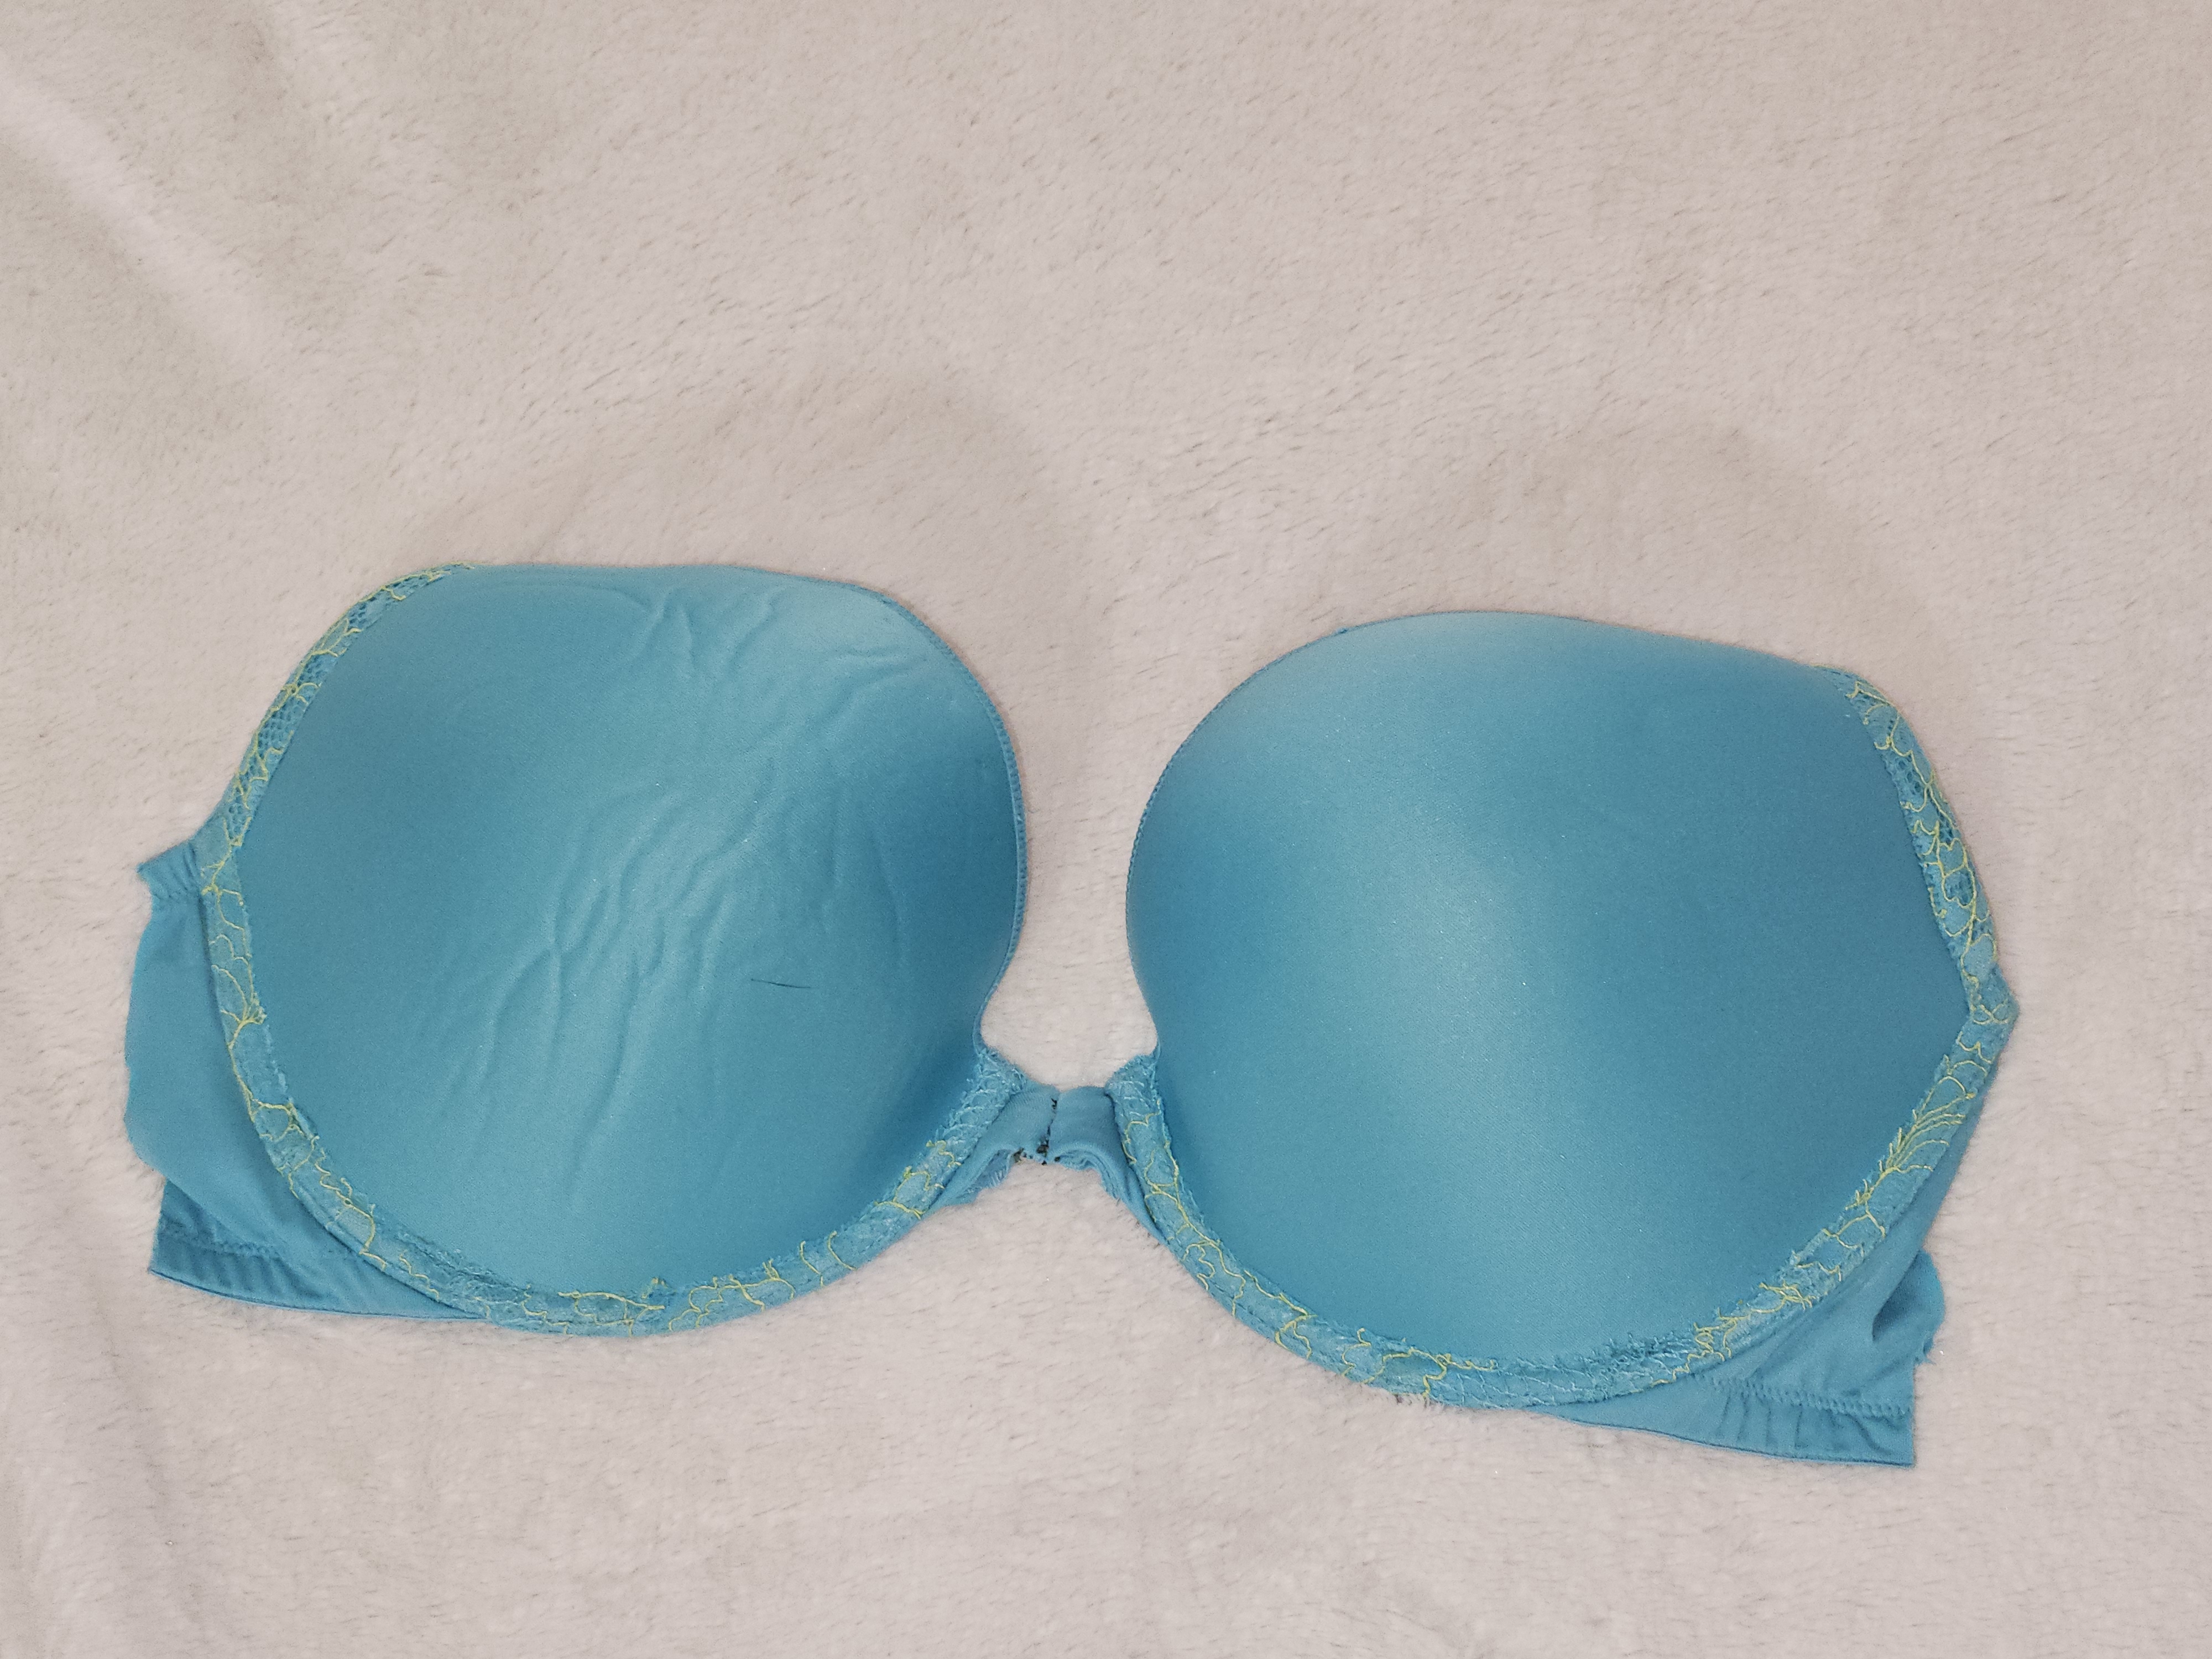
Now that you have the bra, make sure the cups truly fit the way YOU want. They will be the only things that stay in place on the bra. Everything else will be cut off and replaced. If you have a front closure bra, I remove the closure and sew the cups together. I do not want any costume mishaps while dancing or running around family friendly events. When you cut the band off leave yourself about a half inch to sew fabric to. This fabric will be what you attach rings or make fabric loops to. So after everything is cut off and front closures are sewn closed you will have something like this.
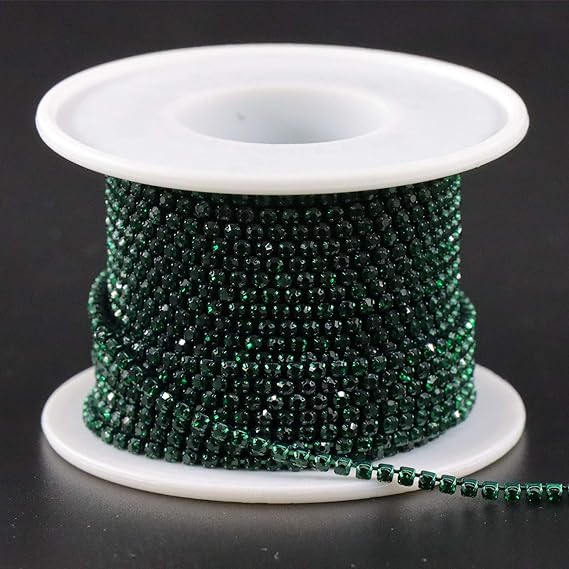
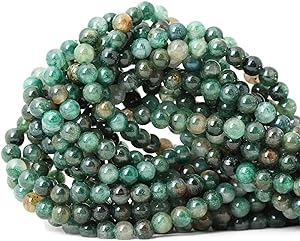
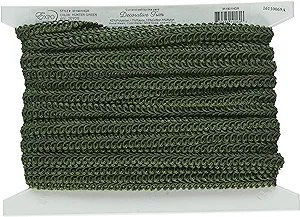
Now the hardest part is picking what you want your finished bra to look like. I am working on a woodland themed piece. You can click the amazon affiliate links below to purchase some of the things I am using on mine. I do get a small commission off each purchase.
Amazon Affiliate Links
Click on the item below to be directed to Amazon for pricing. Some of the items come in multiple colors.


Part 2: Covering the Base
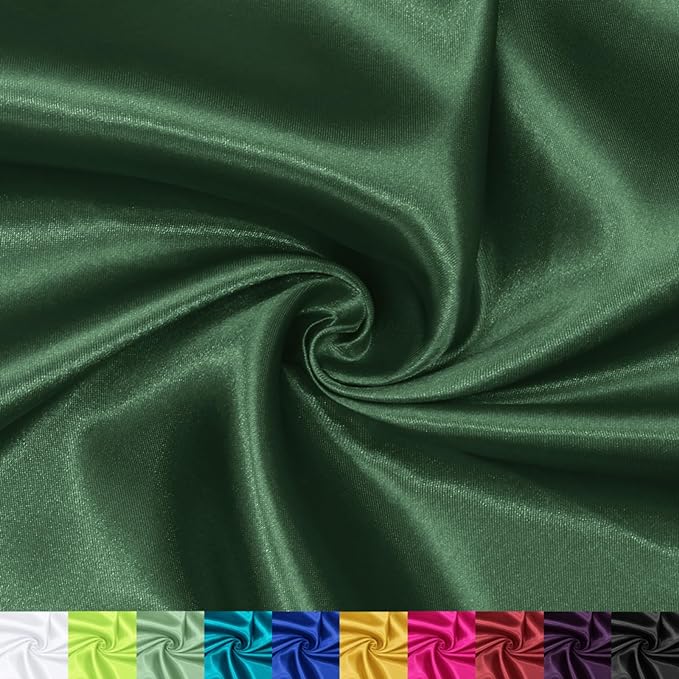
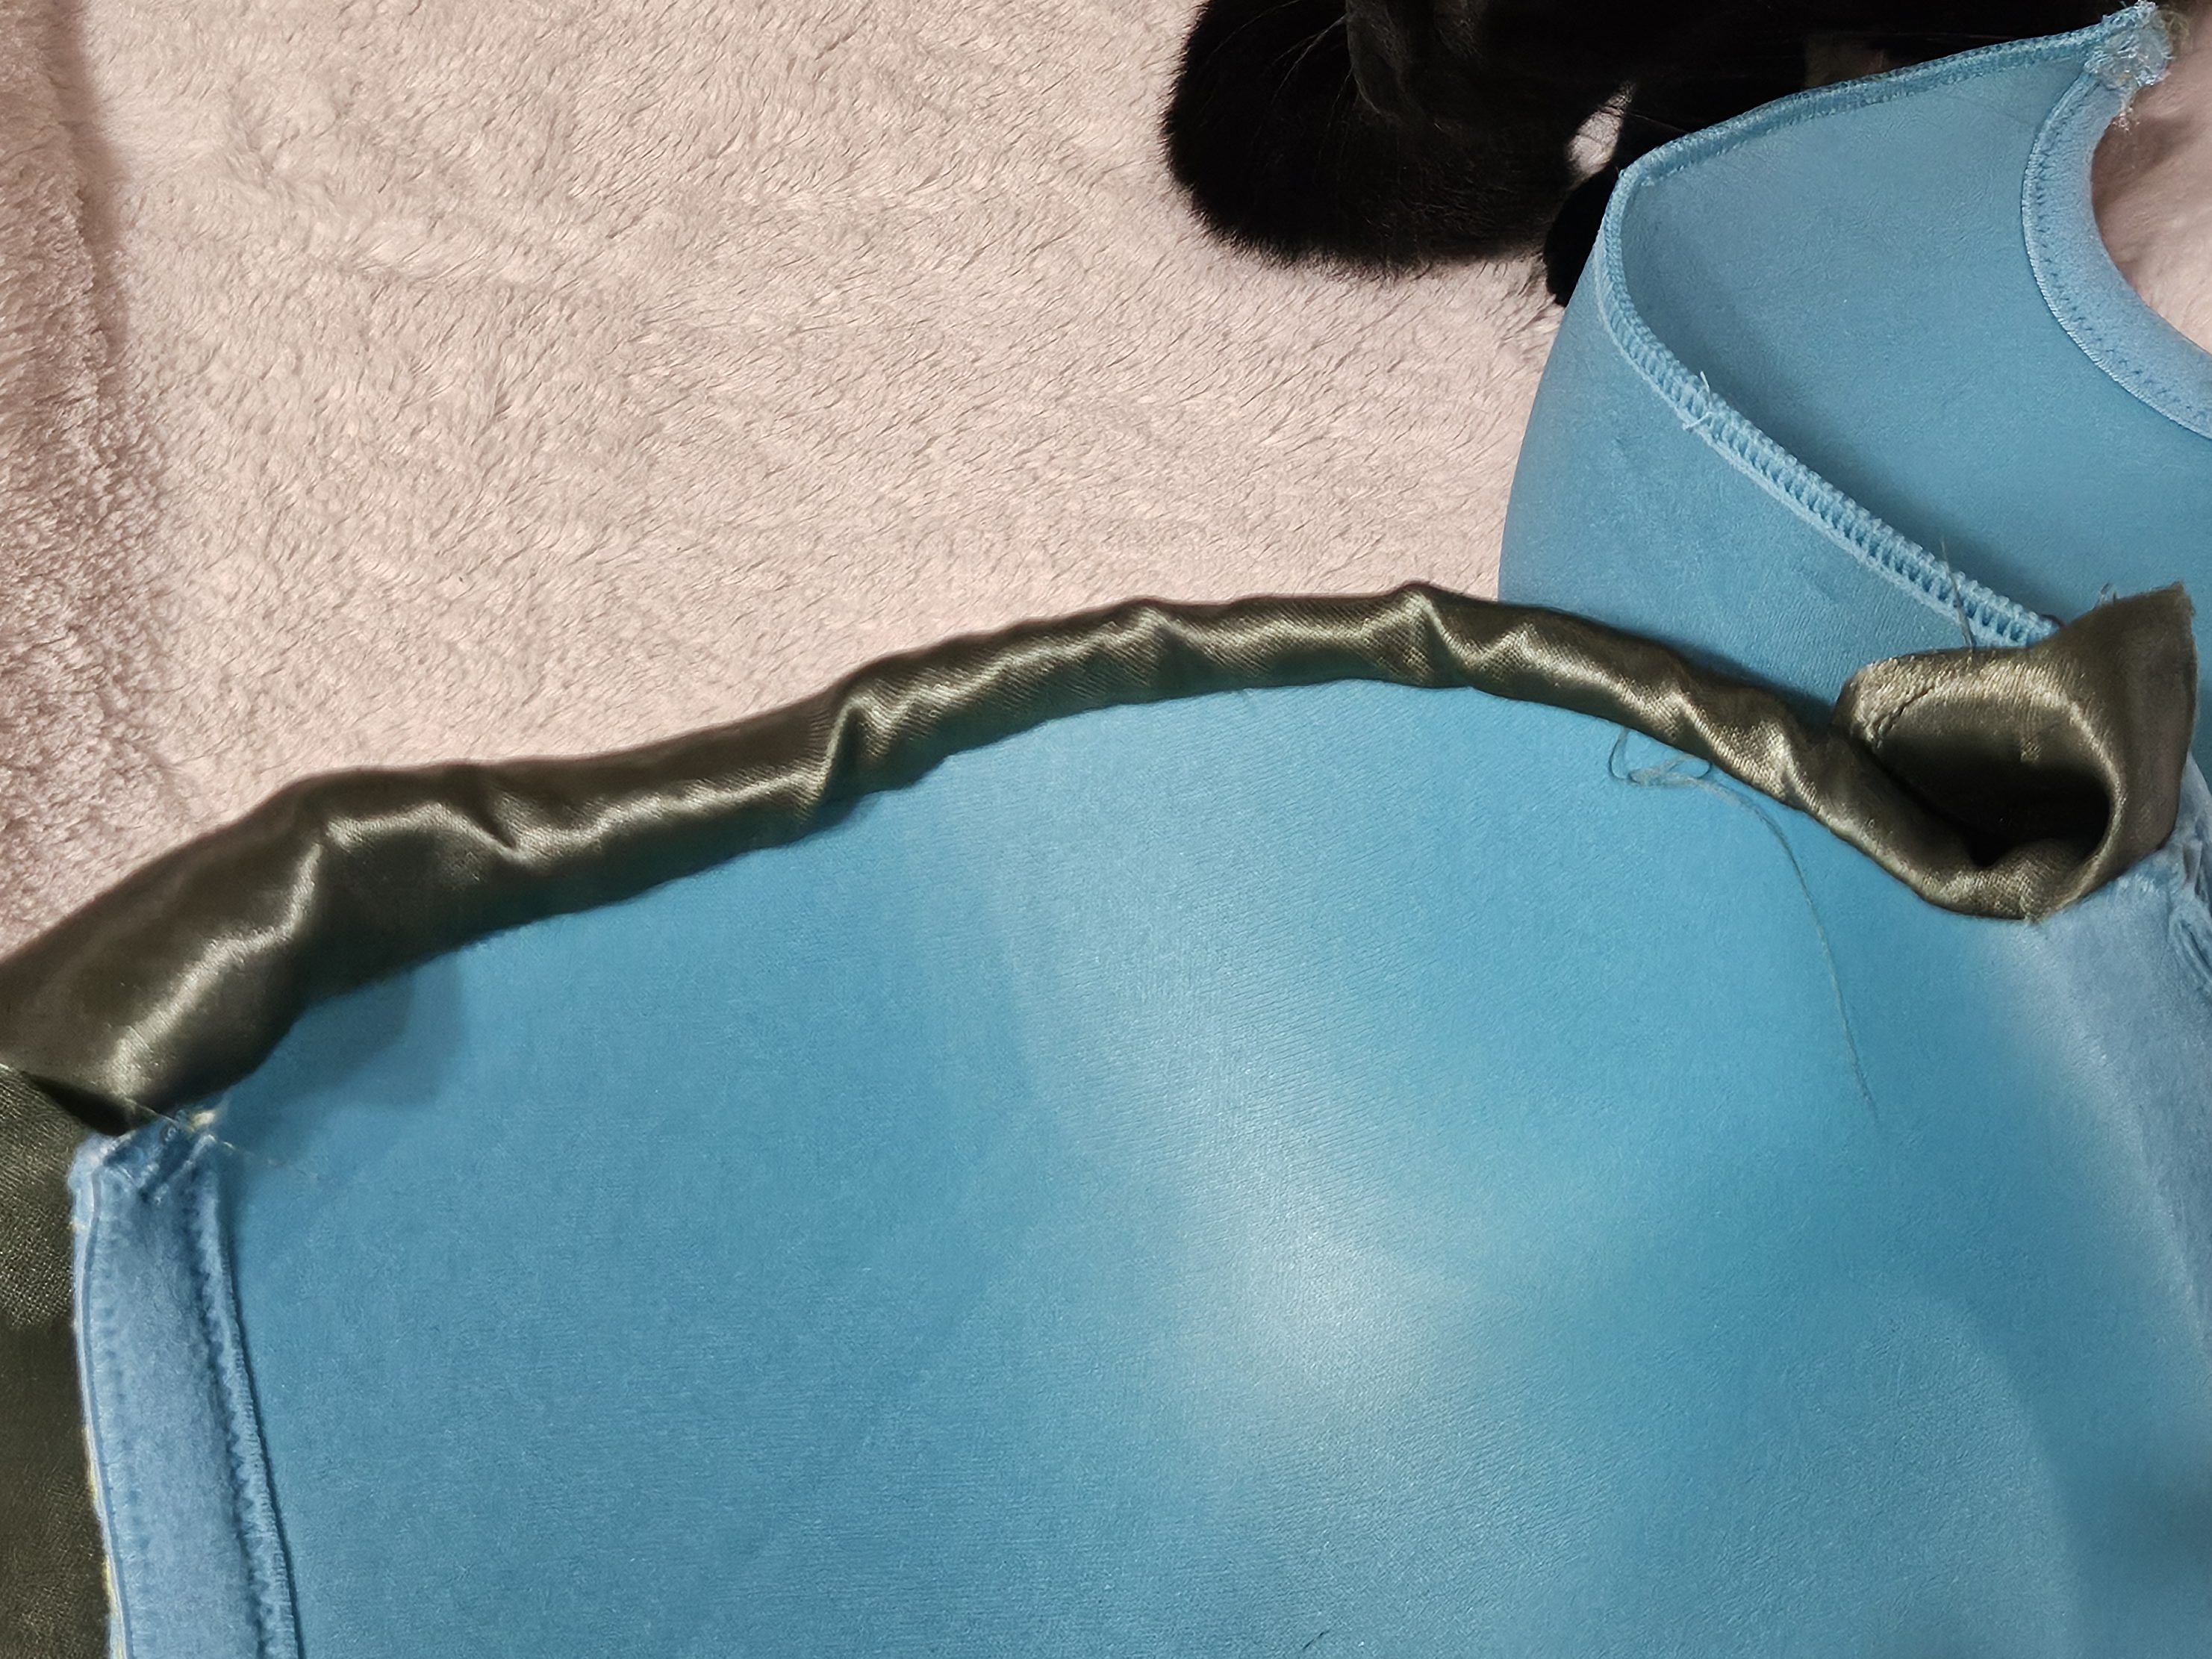
Covering the base of the bra can be done in multiple sections if you are larger cupped like me or in one piece for small cups. I normally use a stretchy crushed velour but fell in love with this woodland green satin fabric that I am using. Of course satin has no give making it much more difficult. I start with the top of the cups.

There are many ways to cover your bra top. I start at the top and work down. I am very odd shaped with a bra size of 40G. No, that is not a typo, but it is the reason I cannot buy anything off the rack. Thus, I make my own. You can see on the top picture, I cover the top part then will cover the bottom. To start the top, I cut a rectangle larger than I need and sew it front of fabric facing the inside of the cup. You can see the tiny stitches that I use to be sure the fabric is securely attached. You can machine sew this part, but hand stitching works well.
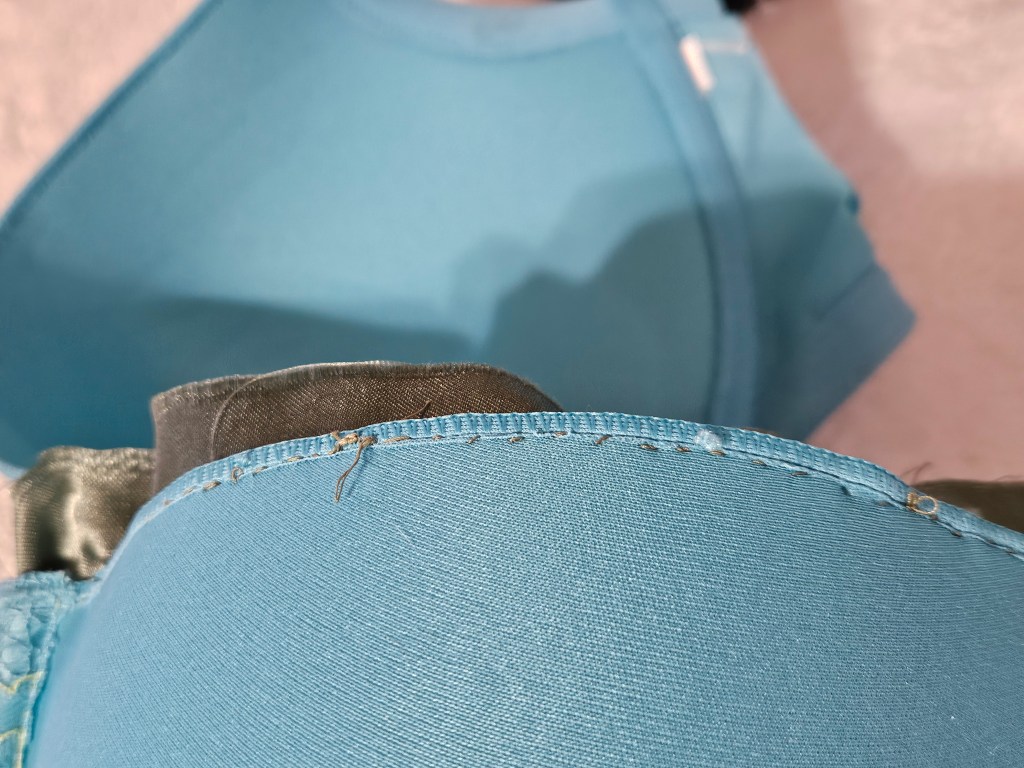
If sewn tightly you will be able to flip the fabric over to the right side on the top of the bra. This will give you a finished look on the back side of the bra. Like so…
Once both sides are done you need to cover the bottom. Again this is MUCH easier with stretchy fabric, but I can never do things the easy way. To start this, I pin a rectangular piece to the bottom and add a a few marks to make sure I line it up when sewing. I will turn the raw edges under and stitch as I go.
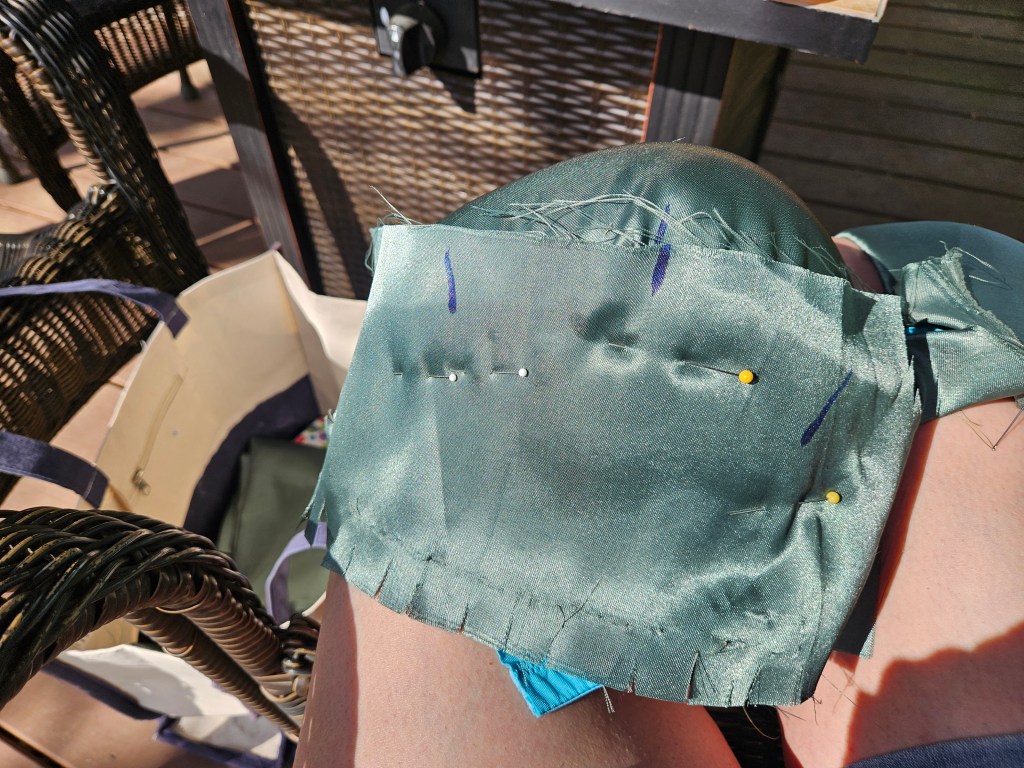
I normally get the seam to lay smoothly, however this fabric is KILLING ME! I had to recover the top left cup three times before I got it to look half way descent. The seams connecting the two pieces of fabric over the cup is quite puckered, but will be covered with trim hiding all imperfections.
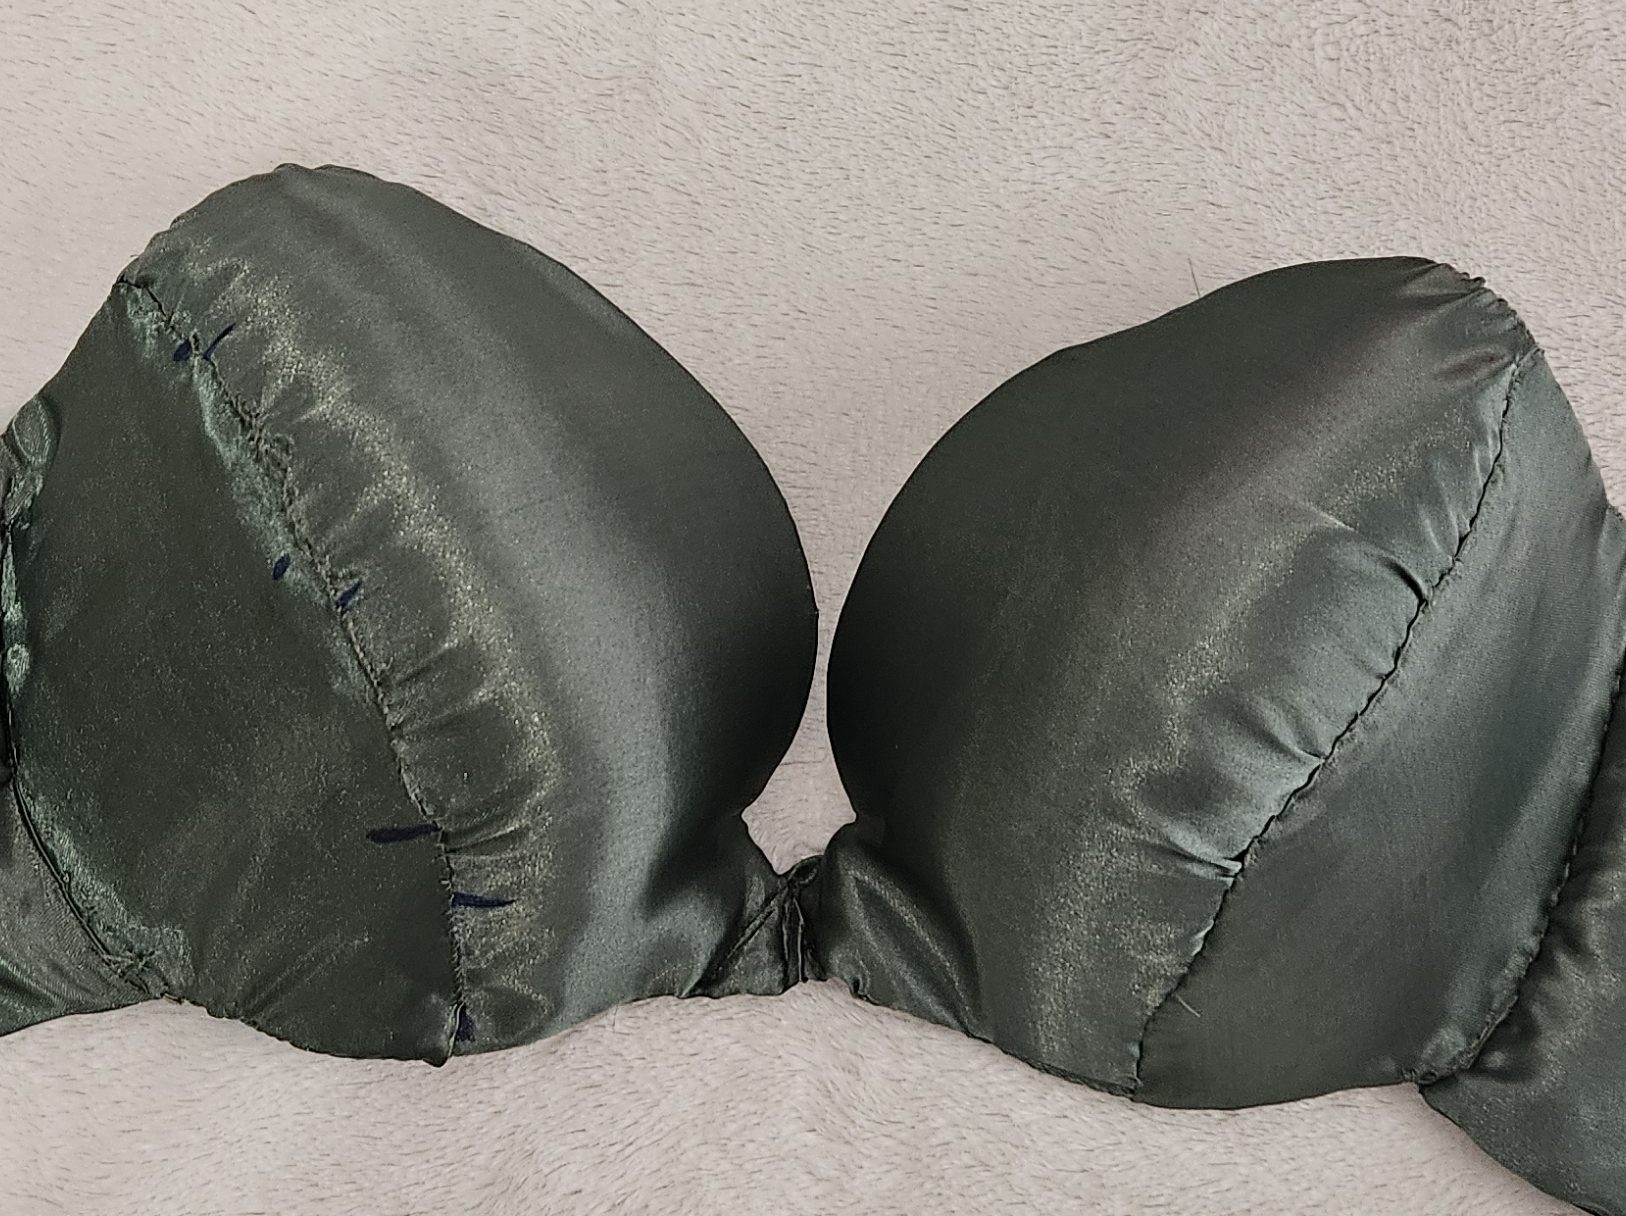
I’ve got to get better at taking pictures. I do not get one with the cups only covered. I added the side pieces before I took the photo.
Part 3: Getting the Sides on the Bra
Each bra I make is unique. I started off trying the traditional over the shoulder bra, but I really do not like the finished look of it. Because I am so top heavy, anything that ties around the neck makes me ache all day. The most comfortable way for me is to create one that crosses in the back. To make this work no matter how I tie the straps, I must have rings or loops on the side that the ties go through.
On this bra, I am experimenting with something different. I am using the fabric I covered the bra with to create a loop. To do this, I traced the cup line and remaining fabric I plan to attach the piece to and sketched out this design.
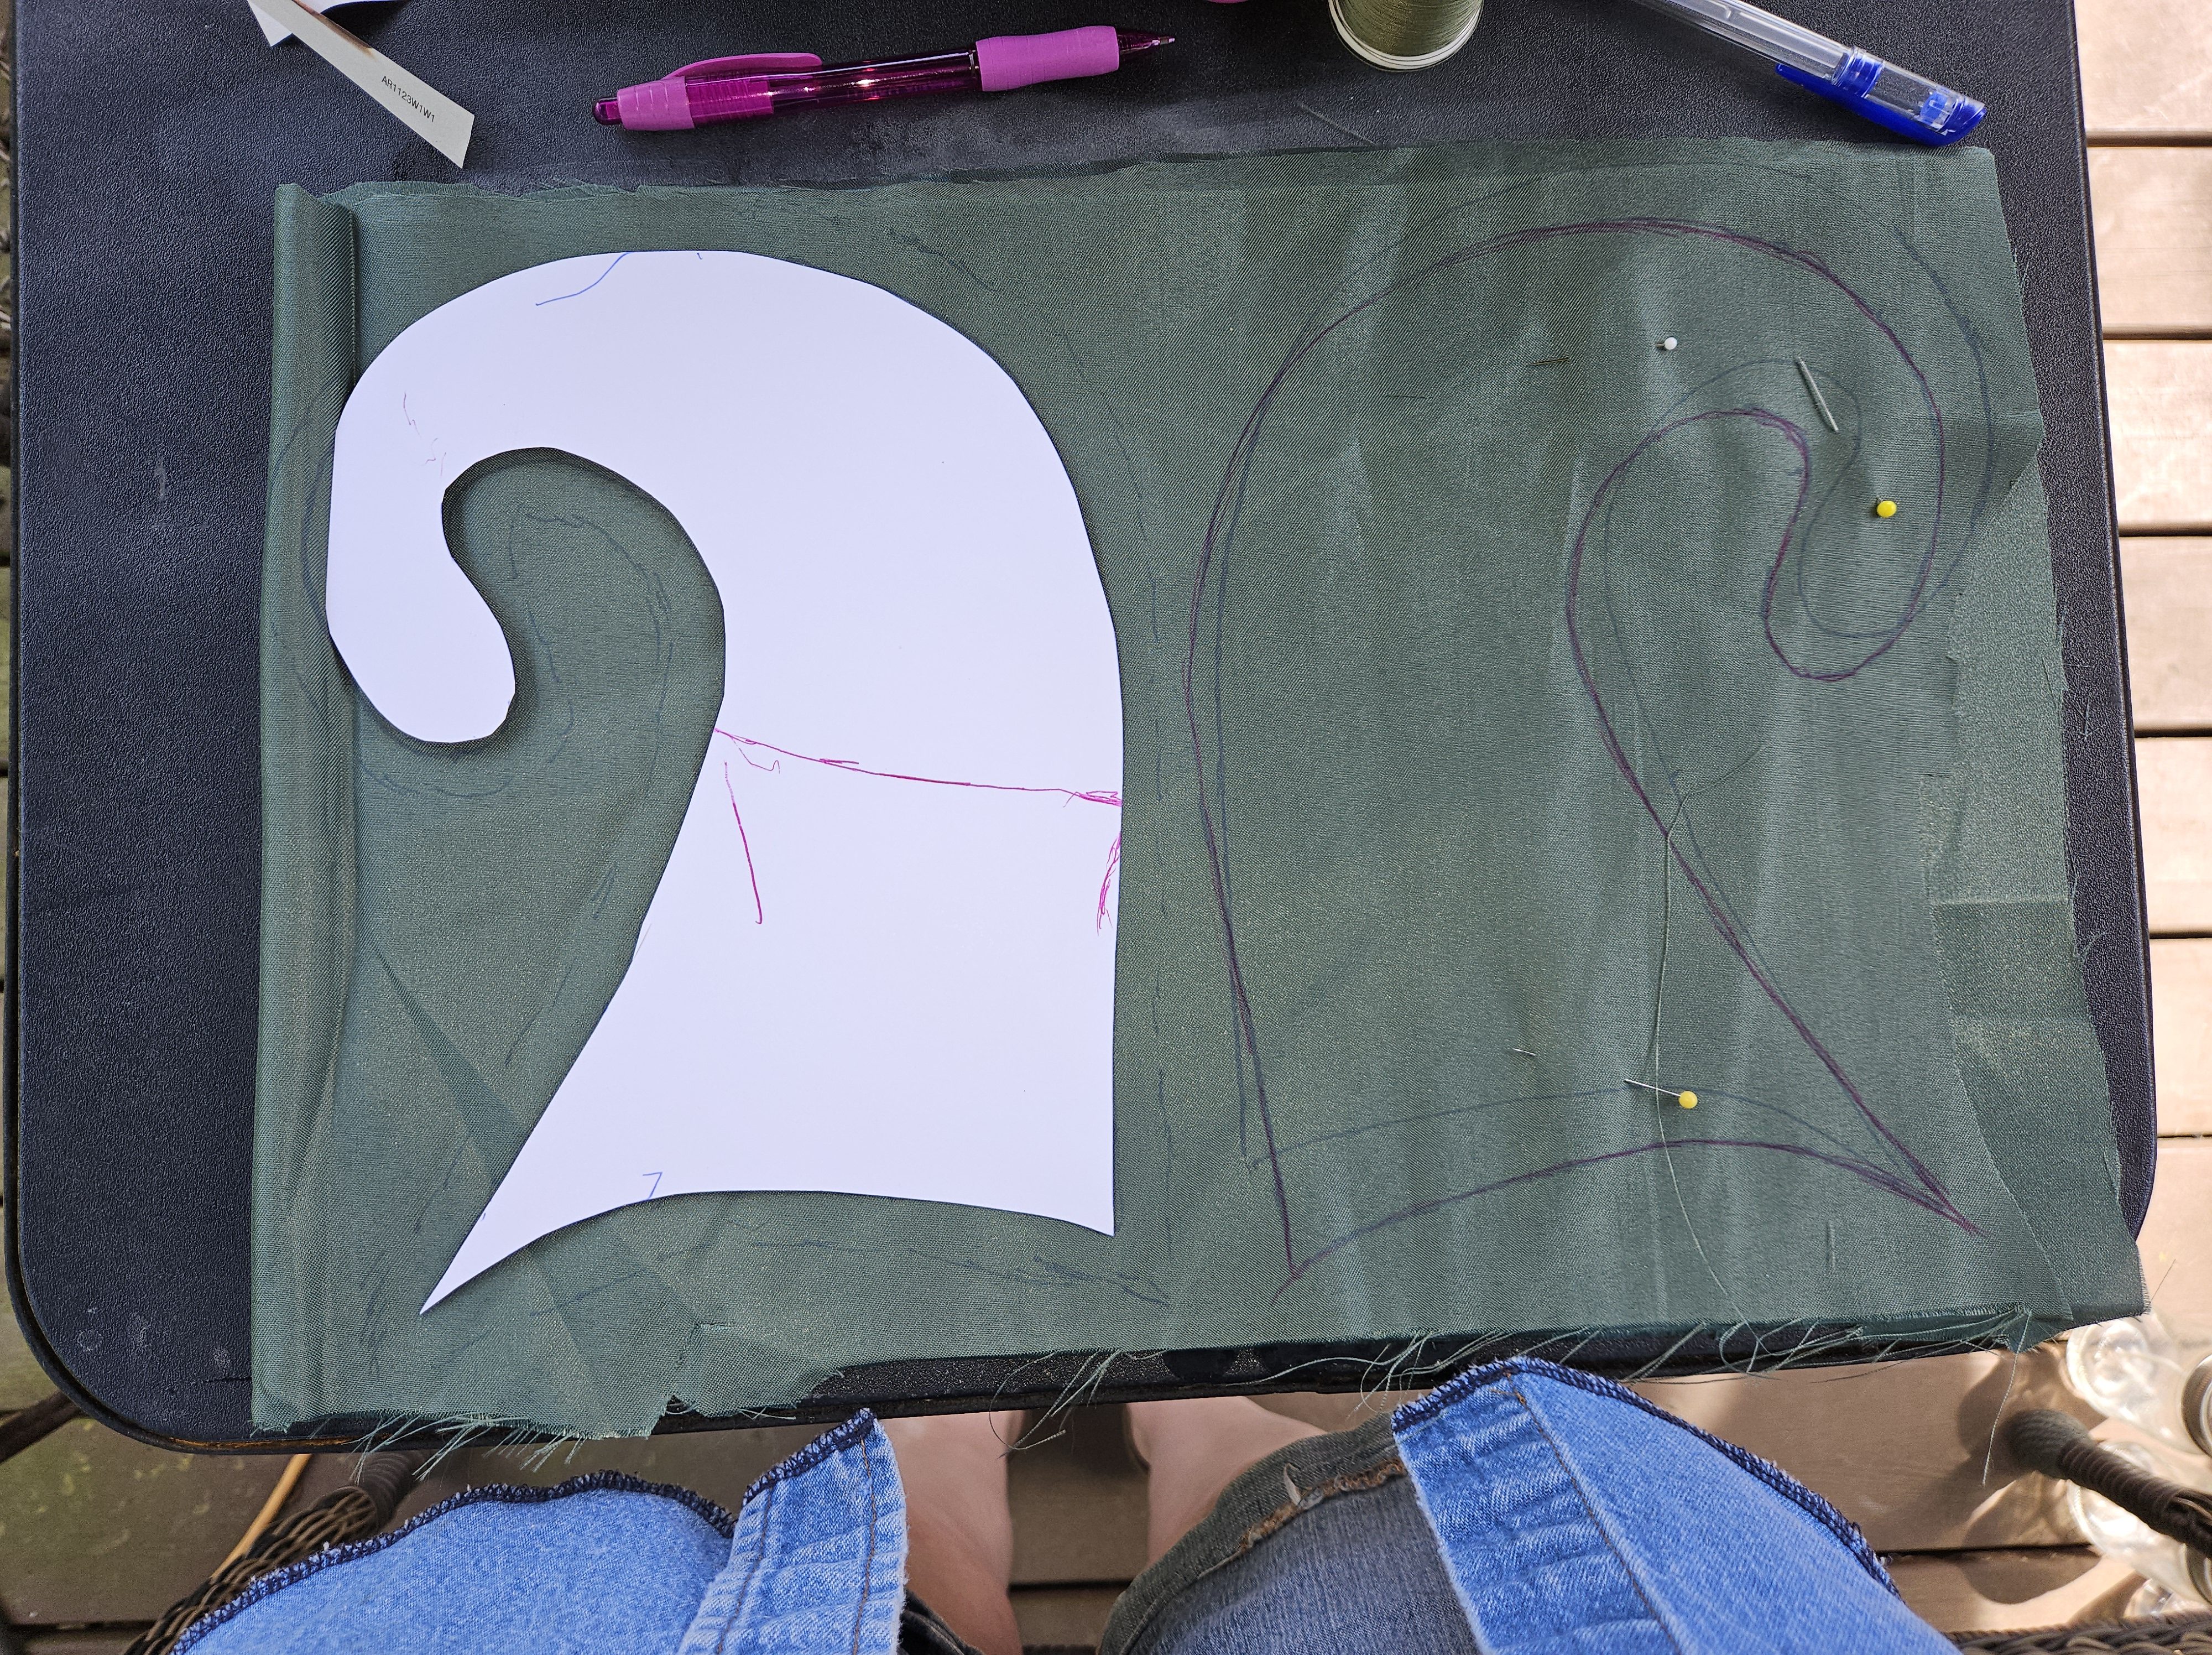
The next part actually caused me to break out the sewing machine. I stitched along the outside of the piece meaning the two sides that create the curl at the end. Then trimmed and flipped them right side out. This allowed me to sew it to the side of the bra. Again, I used my sewing machine to ensure the stitches would hold up to the weight it is going to carry. Normally I will stitch simple metal rings to the ends of the base. That may be what I go back to if this does not work the way I envision.
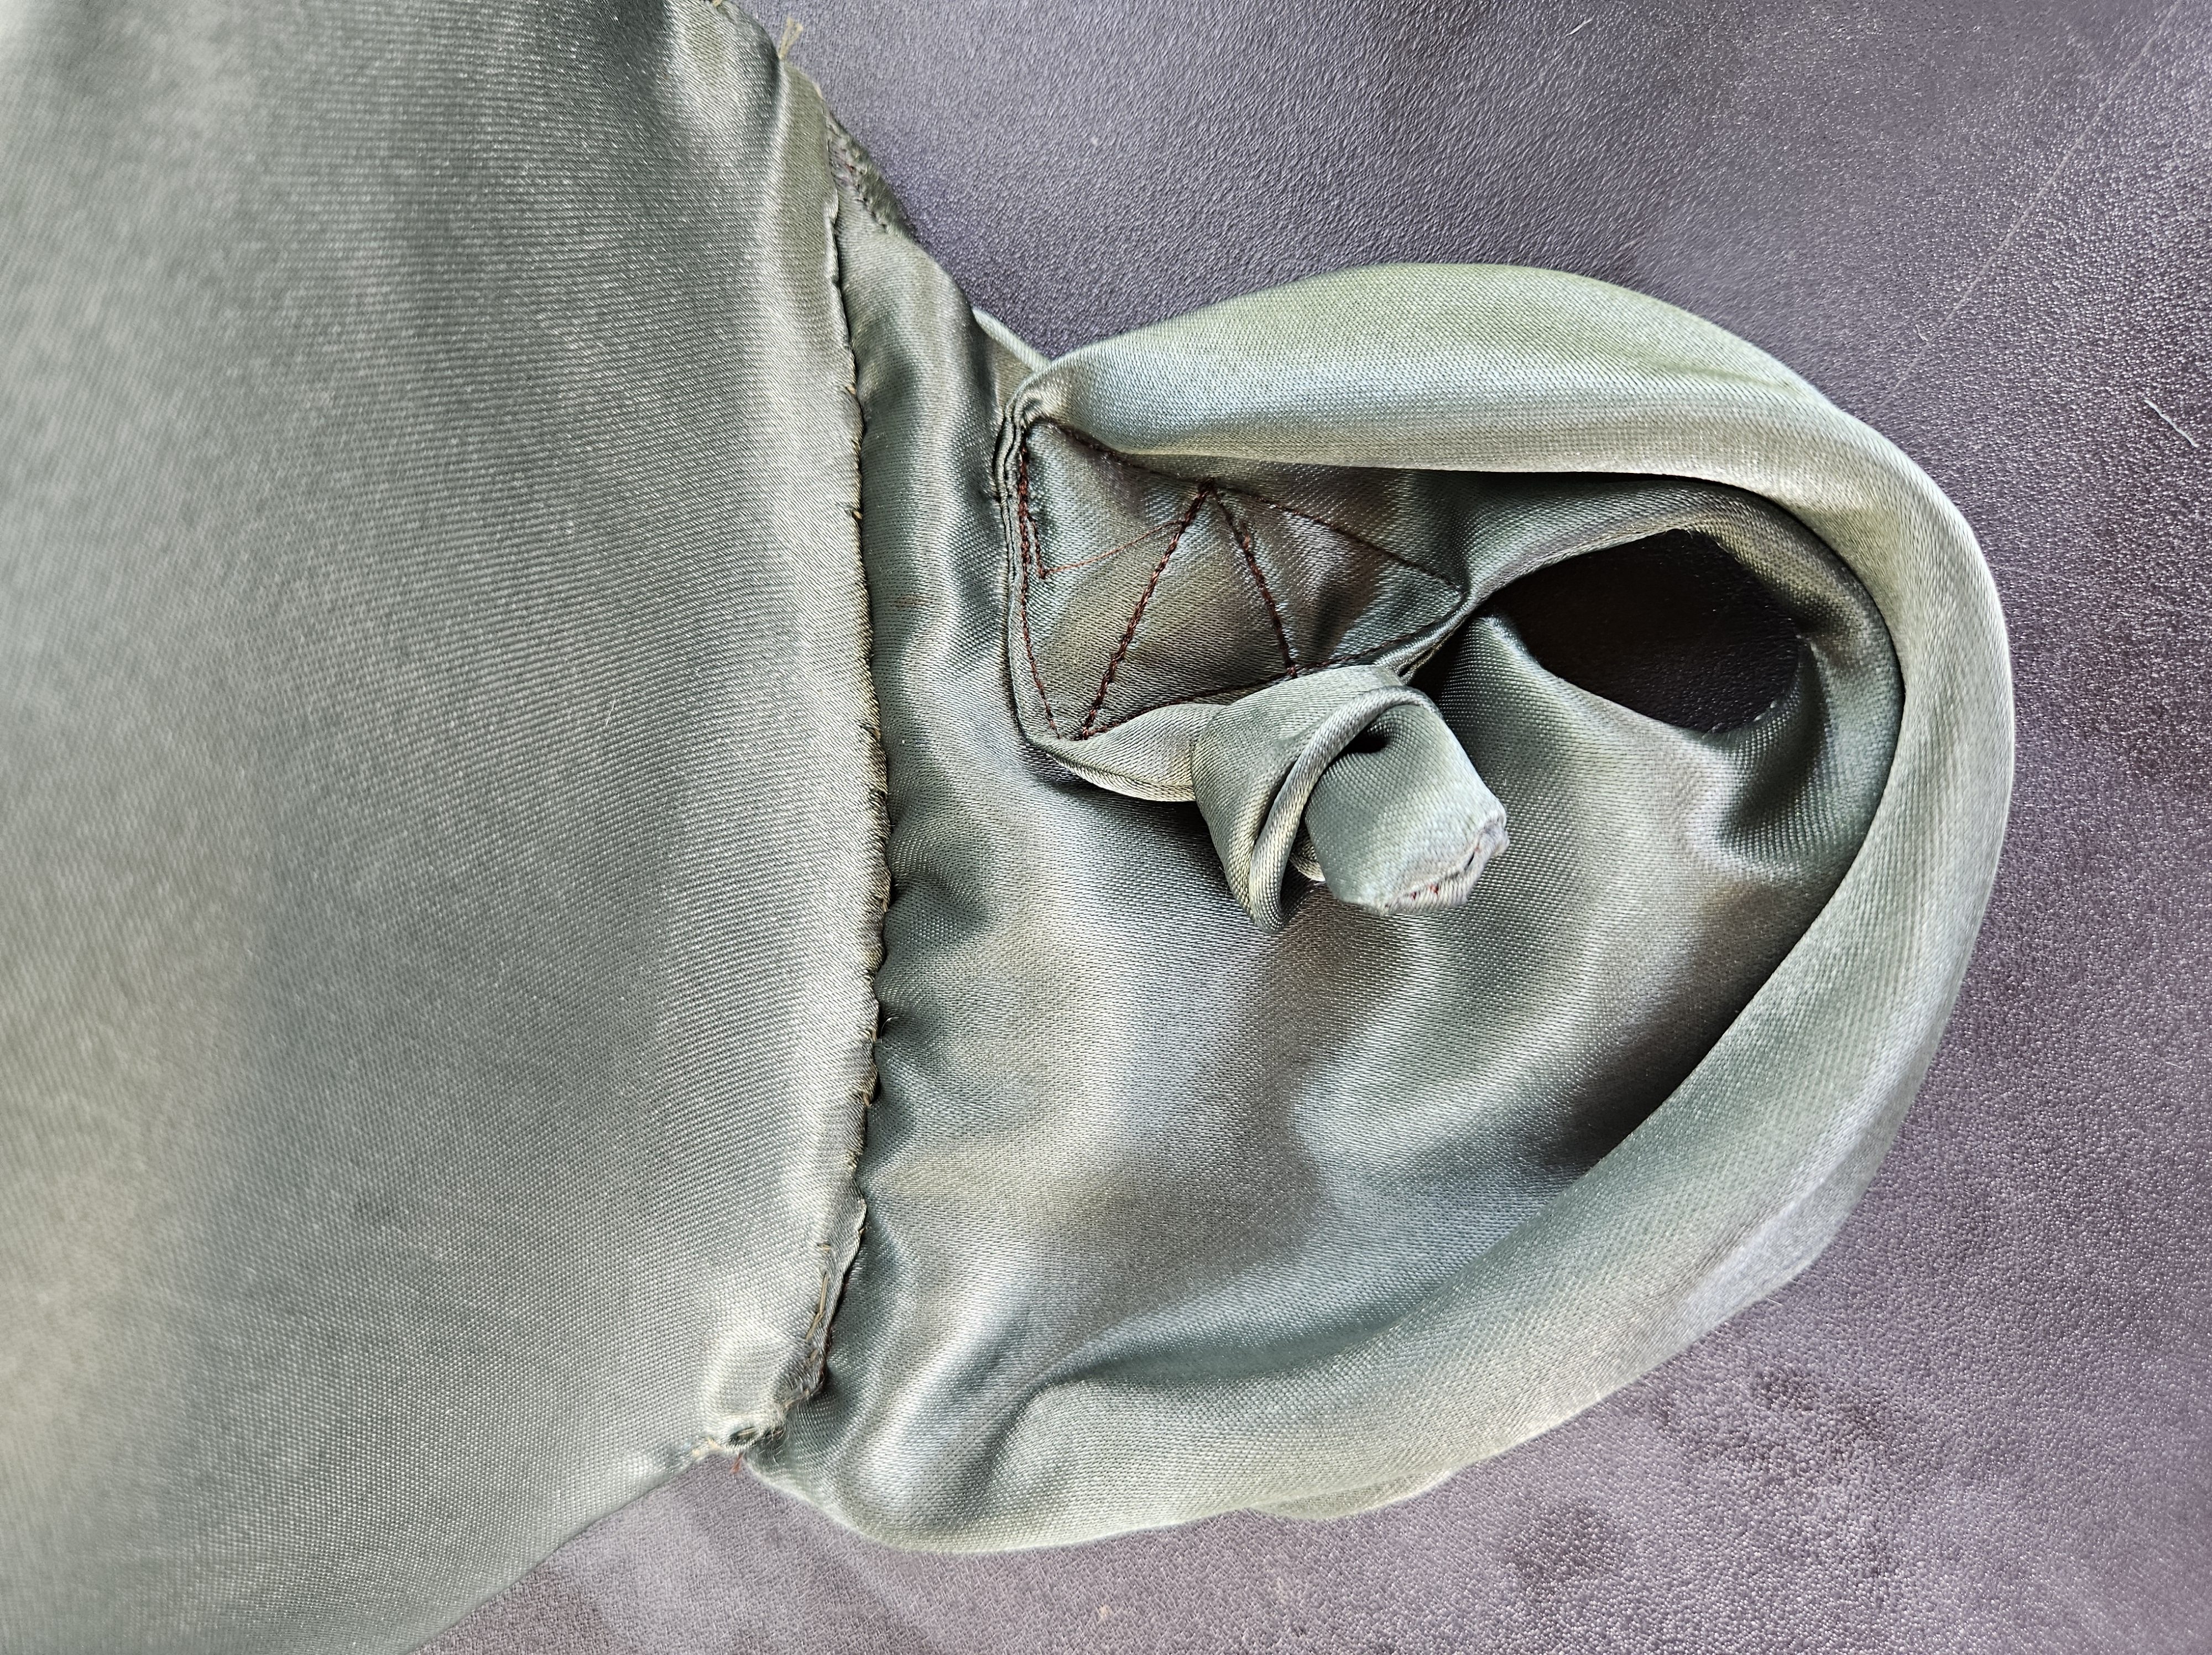
You can see where I stitch the end of the loop to the fabric with the machine. Again to ensure that the stitches would hold. I tied the remaining piece so the stitches were visible for the photo. It will be changed when I am working on the decorating.
Once your have your base covered, you will end up with something like this.

Part 4: Embellishing the Bra Top
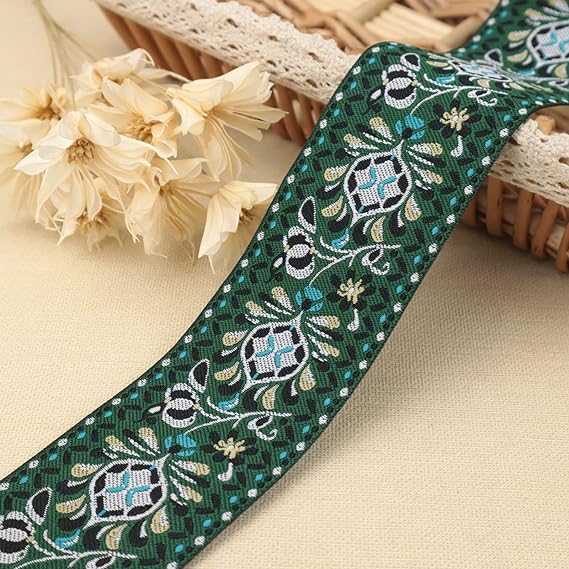
This gets you to my favorite part, actually decorating and embellishing the top. I try to start with one major piece that I will place all the other embellishments around. For this piece I am using a wide jacquard ribbon. This will cover the top two inches of the cup. Once I get those in place, I will decide what else I want to use for embellishments.
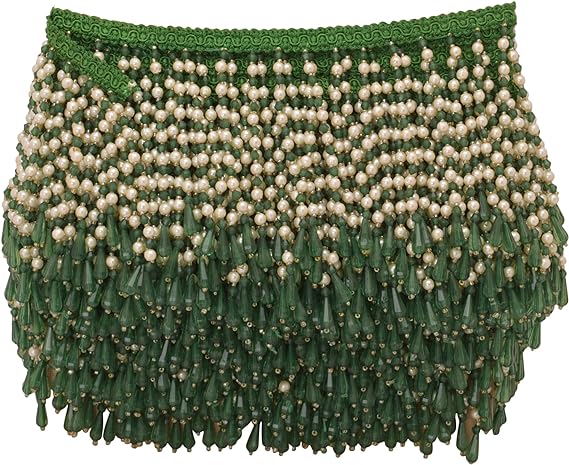
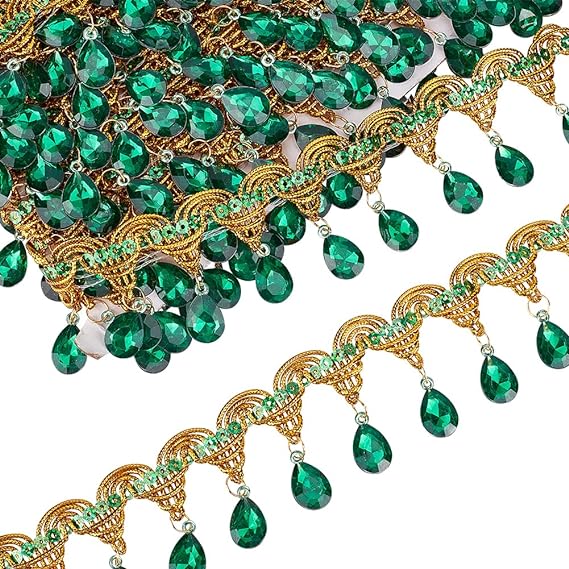
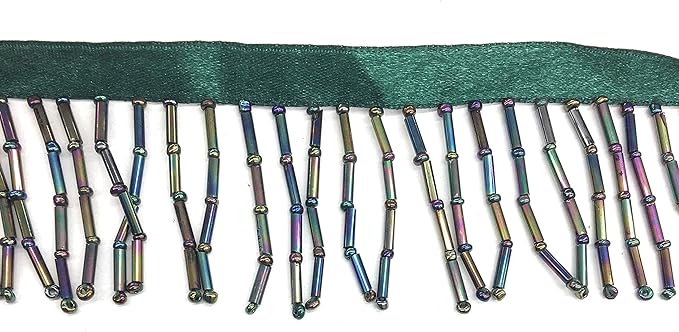
After hand stitching the ribbon on, I added a silver garland I had to cover the seam followed by a silver jeweled leaf beading to add more detail. The bottom of the top was trimmed with a 3 inch beaded trim. I sewed a matching belt that can tie in front or back to finish off the outfit. I will show you how I did the belt in another project. To style it, I added a 25 yard gypsy skirt, layered the bra with a black crushed velvet Turkish top and rose patterned netted body suit. I added jewelry to complete the look and went to the fair. You can see the finished result below.